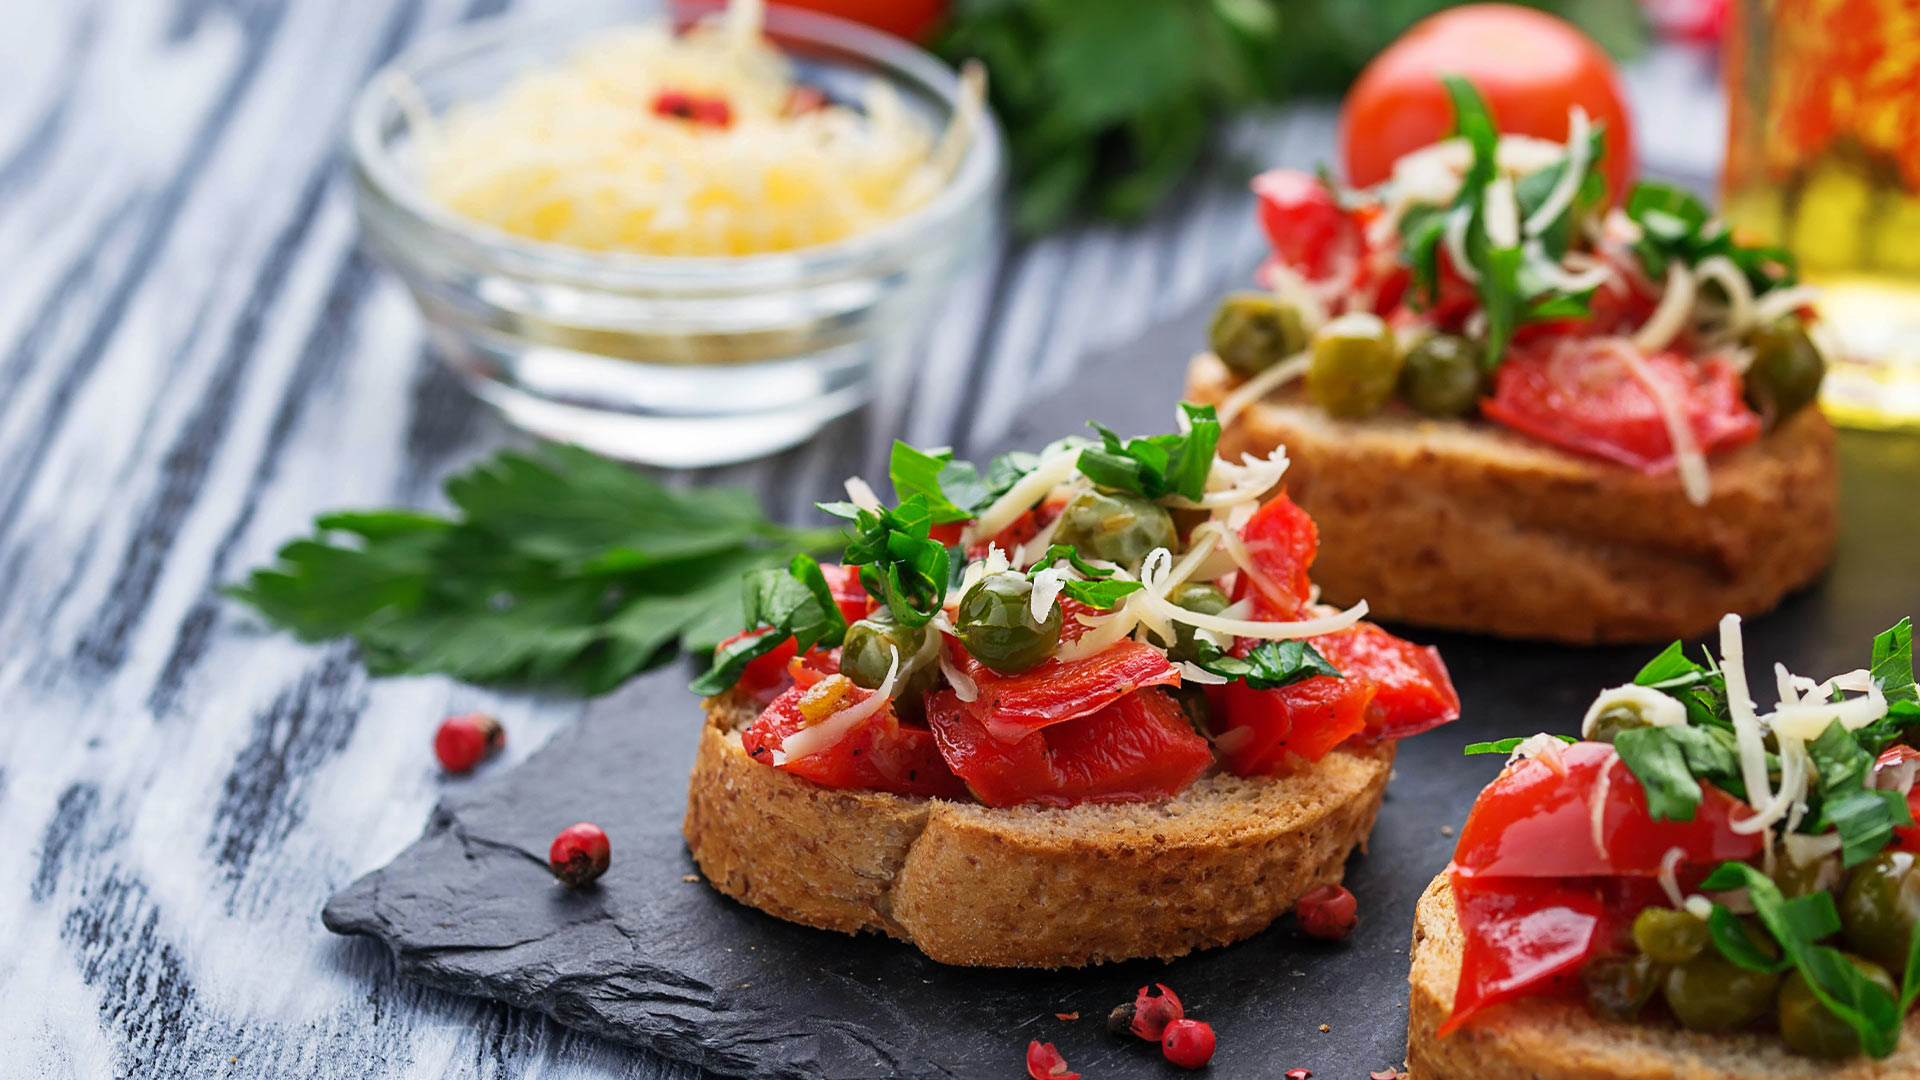
How to Assemble a Fancy-Looking Snack Board in 3 Moves
A fancy snack board feels like something that takes hours to curate and arrange—but nope, not here. With just three smart moves and a few fridge finds, you can pull off a spread that screams “effort” even if you only spent 15 minutes making it happen.
Whether it’s for a cozy night in or spontaneous guests, here’s how to assemble a snack board that looks high-end with minimal stress.
Step 1: Choose Your Base (and Build a Visual Plan)
The first step isn’t food—it’s what you build it on. Presentation does half the work here.
Choose Your Board or Surface
- A large wooden cutting board
- A marble slab
- A baking sheet lined with parchment
- Even a clean slate tile from the hardware store
Size it based on how many people you’re feeding. Big isn’t always better—a well-filled small board feels more luxurious than a sparse giant one.
Shape It Up
Try one of these layout ideas:
- Clockface: Anchor bold items at 12, 3, 6, and 9 o’clock
- Spiral: Wind items around a central dip or fruit pile
- Sectioned: Use ramekins and jars to make clear zones
Sketch it on paper if you're a planner—or freestyle if you’re feeling confident.
Step 2: Pick Your Flavor Clusters
You only need 3–5 categories to look intentional. The goal? Layers of flavor and texture. Use what you already have and mix one or two new items for variety.
Start with Something Savory
- Cheese wedges or cubes
- Rolled deli meats or salami roses
- Roasted nuts (almonds, pecans, pistachios)
Add Freshness and Crunch
- Grapes or apple slices
- Sliced cucumbers or baby carrots
- Bell pepper strips or cherry tomatoes
Include a Dip or Spread
- Hummus
- Herbed cream cheese
- Jam, mustard, or tapenade
Add Something Carby
- Crackers (mix shapes and flavors)
- Sliced baguette or pita chips
- Pretzel sticks or mini breadsticks
Finish with a Treat
- Chocolate squares or truffles
- Dried fruits like apricots or figs
- Honeycomb or a drizzle of balsamic glaze
Mixing sweet and savory keeps things interesting and universally snackable.
Step 3: Assemble with Intention
Now comes the fun. Don’t just dump things on the board—think flow and contrast.
The Assembly Rhythm
- Start with your anchors (cheese, dip bowls)
- Fan out crackers or meats around them
- Tuck fruit and veggies in the gaps
- Drop a few sweet bites at opposite corners
Use the rule of three: odd-numbered clusters look more appealing.
Visual Tricks
- Roll or fold deli meat for volume
- Stack crackers vertically in a cup or jar
- Pile grapes instead of laying them flat
- Drizzle honey or jam right on cheese for “melty” effect
Sprinkle herbs or edible flowers if you’re feeling it. It’s garnish, not extra work.
Make It Your Own
This is where lazy gourmet thrives: no rules, just vibes.
- Add color with purple carrots, golden berries, or red radish
- Theme it—Italian (prosciutto, mozzarella, olives), brunch (bagels, cream cheese, smoked salmon), or dessert (fruits, cookies, chocolate)
- Use mini cookie cutters to shape cheese or fruit
Or just raid your fridge and freestyle. If it fits on a cracker, it belongs on the board.
Prep and Storage Tips
Boards can be built ahead of time with a few tweaks.
- Assemble everything except wet fruits (like sliced apples)
- Cover tightly with plastic wrap
- Add fresh and juicy items just before serving
- Serve at room temp—flavors shine more that way
If taking it on the go, use a tray with a lip or bring ingredients in containers to build on-site.
Budget Tips
Snack boards can look rich without being expensive.
- Use one fancy cheese and two grocery basics
- Bulk nuts and store-brand crackers work great
- Slice fruit yourself instead of buying pre-cut
- Skip fancy charcuterie—folding deli meat gives the same effect
It’s more about arrangement than premium price tags.
Guests Think You Did the Most
That’s the trick: it feels generous, styled, and Instagram-worthy—but it’s really just a clever grocery edit on a board. You can pull this off with:
- Zero cooking
- One knife
- Fifteen minutes
Best part? You get to snack while assembling. It’s kitchen multitasking at its finest.
So next time you need to look extra with minimal effort, skip the stove and grab the board. Lazy gourmet has never looked better.


